 MenuGleam
Start with your real food
AI Food Photo Enhancer for Real Dish Photos
Start with the food you actually serve. Use AI to improve its presentation, then compare the enhanced image with your original.
Enhancements use credits. Sign in and choose or create a restaurant to get started.
What AI enhancement can improve
Choose a restaurant look to guide the image’s lighting and setting. The result depends on your starting photo and the generated output; these are presentation changes, not precise manual controls.
Lighting
Aim for a clearer view of the dish with a different lighting treatment. Check that brighter highlights or deeper shadows have not hidden important food details.
Background and setting
Explore a setting that gives the food more attention. Review the edges of the dish and its container, where generated changes can affect the product itself.
Overall presentation
Choose a look that suits how you present your food. Judge the result for accuracy as well as appearance, rather than accepting an image just because it looks polished.
A closer look at a real enhancement
This authorized pearl milk tea example uses an existing promotional image. The Bright Casual result presents the drink in a light setting without the original advertising text. This shows one result, not a guarantee that all text will be removed or every product detail preserved.
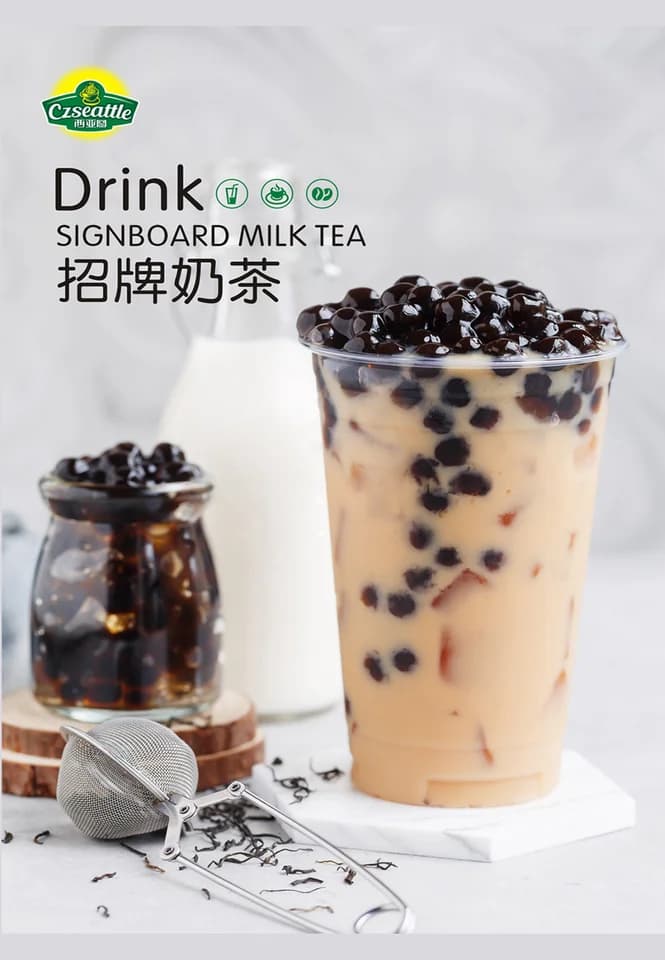
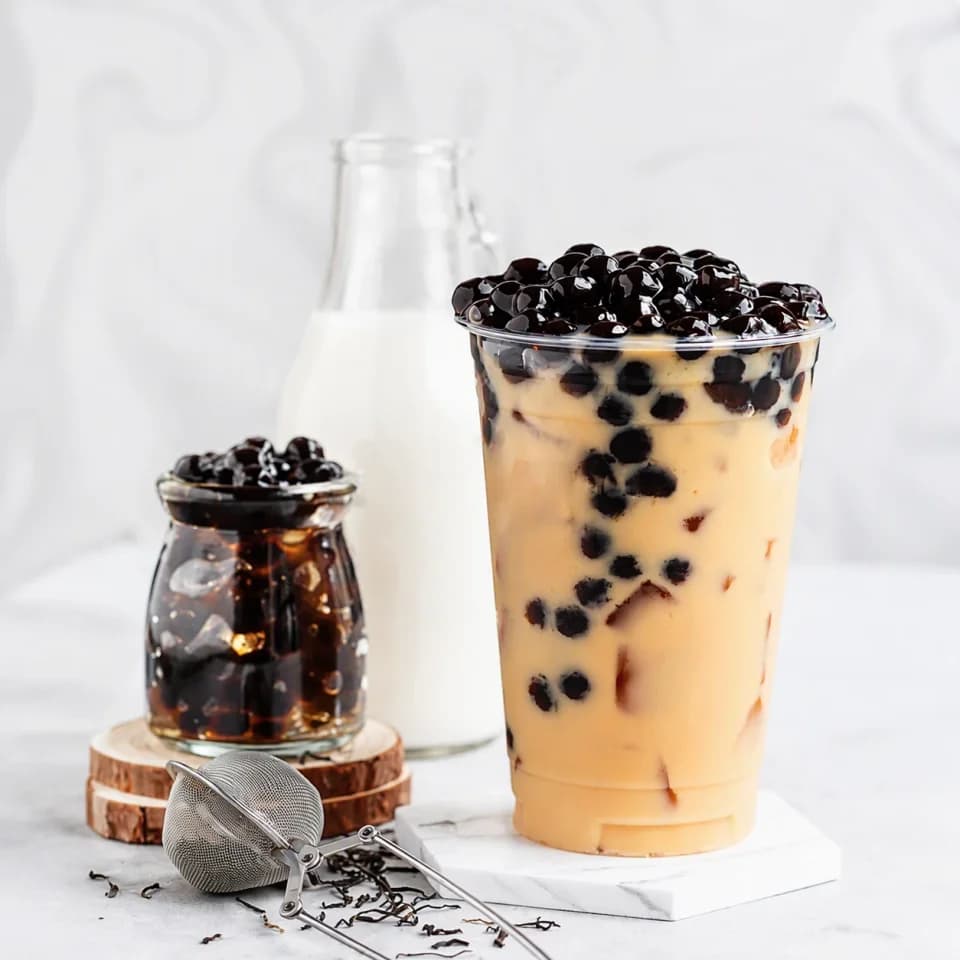
Both images are shown in full. Compare the pearls, drink color, cup shape and serving proportions with the actual product before using an enhanced image.
Give the AI a useful starting photo
A phone or camera photo can be a starting point. What matters is whether the image clearly shows the food you want to represent.
- Keep the whole dish or container in frame, with enough space around it to see its shape.
- Use lighting that makes the ingredients visible. Avoid heavy shadows, glare or objects covering the food.
- Check focus before uploading. If the photo is very dark or blurred, retaking it is a better starting point than relying on AI to invent missing detail.
- Photograph the portion and packaging you actually serve. An attractive reference image is not a substitute for an accurate product photo.
Better presentation still needs a human check
Review every enhanced image before publishing. Check ingredients, portions, branding and visual accuracy against the dish you actually serve.
Inspect toppings and their quantity, the shape of the container, and any logos or printed words. AI can produce convincing details that were not in the original. If the result misrepresents your food, do not publish it.
An enhanced image is not a source of ingredient or allergen information. Keep your menu description grounded in your recipe and the food you serve.
Food photo enhancement questions
Can AI enhancement fix a blurry food photo?
There is no guarantee that enhancement will recover missing detail accurately. Start with a clear photo. If ingredients are hard to identify or the dish is badly blurred, retake the photo before enhancing it.
Does MenuGleam create a dish from a text description?
This workflow starts with an uploaded photo of your actual dish. Choose a restaurant look to guide the enhancement, then compare the result with your original. AI can still change details, so review the output carefully.
Where can I use the enhanced image?
You can prepare images for your menu, website or social channels. Before publishing, check that the image accurately represents your food and meets the destination’s image requirements. For delivery listings, check the platform’s current rules; approval is not guaranteed.
Make your next menu photo look ready to sell.
Upload a real dish photo and see what MenuGleam can do.
Enhance Your Food PhotoEnhancements use credits. Review your result before publishing.